Shop at Amazon.com
Homemade Chicken Noodle Soup
When I'm sick; I want chicken soup. The store bought kind had lots of things in it that aren't good for me, or if they aren't full of junk; they're expensive or don't taste nice!
Chicken Soup, made from scratch, really isn't that difficult. It does take some time if having to start from the beginning with making the stock and such, as I did today, but if the parts are done ahead of time; it can be quickly put together.
This recipe will show how to do the basics then give suggestions how to do variations on the basic Chicken Soup theme.
Let's start with the stock or broth.
How to Make Homemade Chicken Broth or Stock
Place one whole chicken into a large pot. Add carrot peelings, celery tops and garlic if available. Cover it with water and a lid. Bring it to a boil, then reduce the heat to simmering.
Skum. Yuck!
Use a spoon to skim off any of the floating foam and fat that rises to the surface and discard it. These are the impurities that cause stock to be bitter and why a lot of folks don't like soup.
Cook the chicken for approximately one hour from the time it comes to a boil. Internal temperature should check at 180F with a meat thermometer, or juices should run clear when a knife is inserted at the leg/thigh joint. When the chicken is cool, remove it from the pot and allow it to cool for about 30 minutes before attempting to remove the meat from the bones.
This picture shows the chicken cooling and the heavy tongs I use to get it out of the pot.
This is the meat removed from the bones. There's a lot of meat there!
This photo is of the broth after about 2 hours cooking
Meanwhile, add about 8 cups of water to the already cooking broth. Once the chicken is cool enough to handle, remove the meat from the bones. Put the bones, cartilage and skin back into the pot. Continue cooking the broth for at least 2 up to 24 hours. The longer it cooks, up to 24 hours, the richer and more nutrtious it is. Skim off any fat or foam that rises to the surface during the cooking time and discard it.
*Edit 9-9-17 I have recently learned that the broth can be cooked for a few DAYS not just hours! If the broth is cooked until the bones become soft, then they can be separated out and mashed with a potato masher. Then, the minerals will all be released into the soup. Additionally, if eggs are used for other recipes, then the shells can go into the cooking pot and the minerals can also be leached out. Add about 1 tablespoon of apple cider vinegar to the cooking water. It helps leach out the minerals.
Here it is again after about 9 hours cooking
Allow the broth to cool and strain it with a colander into another bowl or pot. Freeze it in freezer bags, or it can be refrigerated it for up to about 4 days. Reserve the meat for use in Homemade Chicken Soup or another recipe.
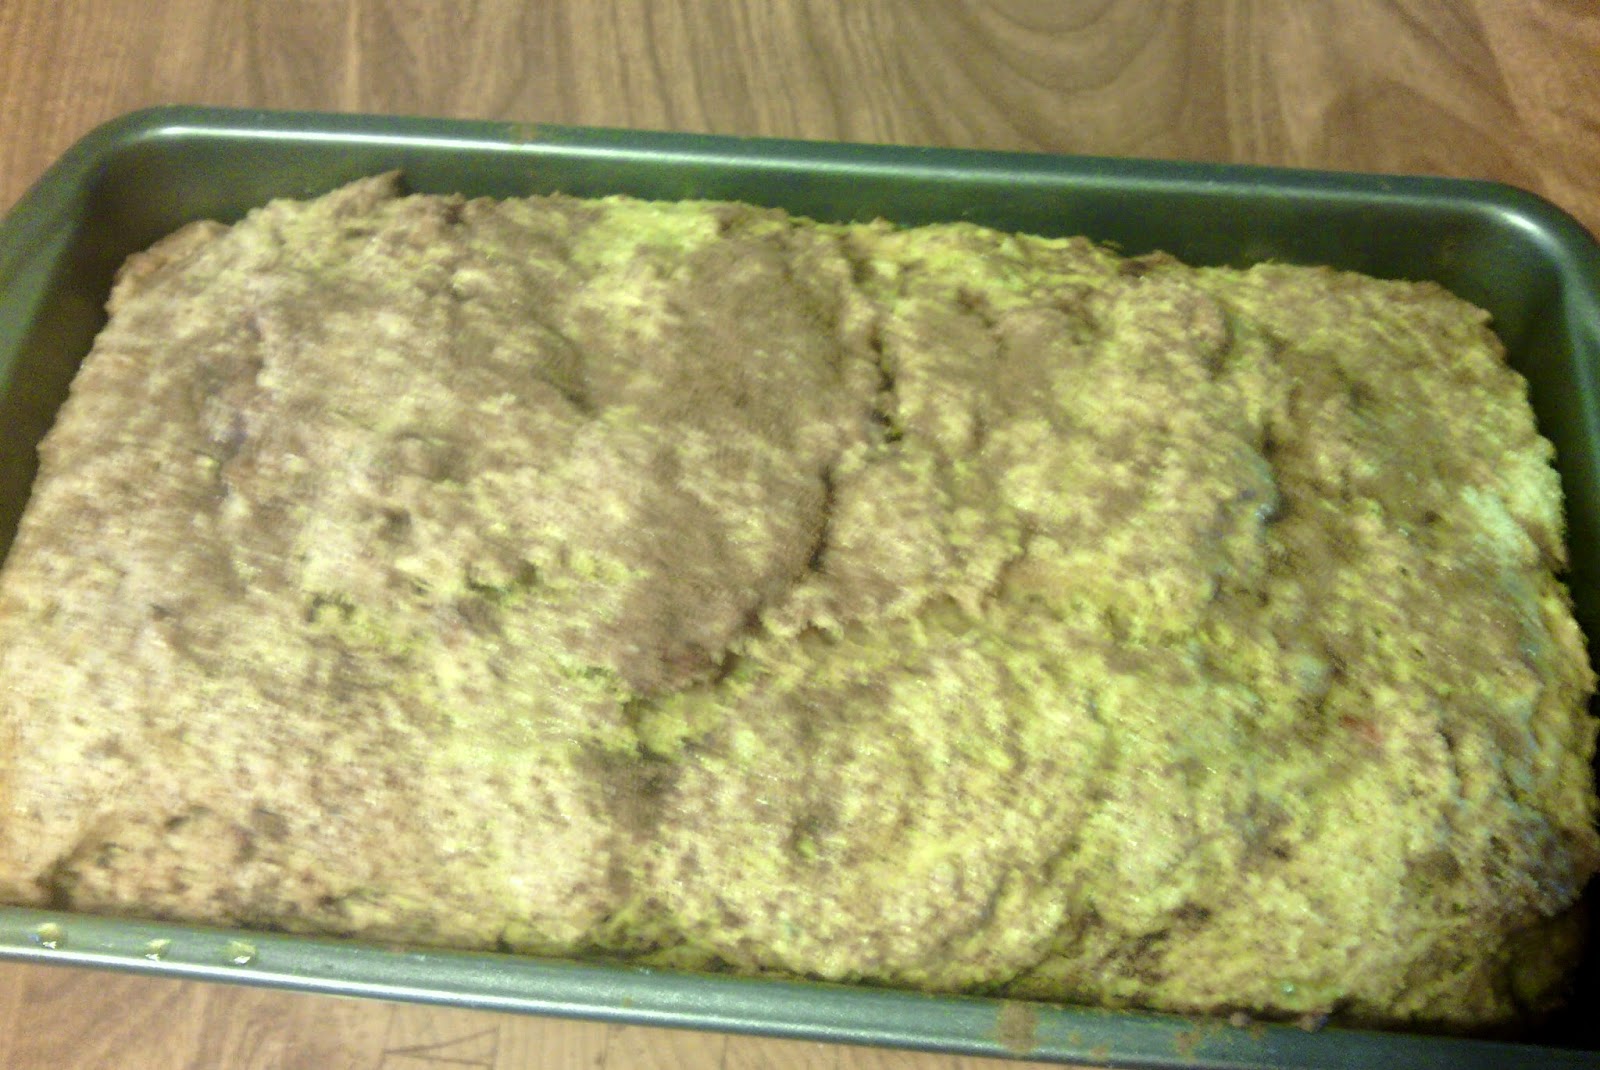
This is a picture of my homemade bone broth,
as described here in my other blog.
Homemade Chicken Soup
Makes about 4 servings
(This is low carb and SCD legal)
Cut up and place into a fairly large pot with a lid:
About 6 stalks celery, 1/2" dice
3 good sized carrots, 1/2" dice
(Optional 1 tablespoon parsley or chives or both!)
Cover them with about 8 cups of the broth, described above. Bring the veggies and stock to a boil, reduce the heat to a simmer and cook for about 10 minutes. Again, skim off any of the foam that rises to the surface and discard it.
At this point, several different things can be done with this basic soup. Here are a couple of easy recipes:
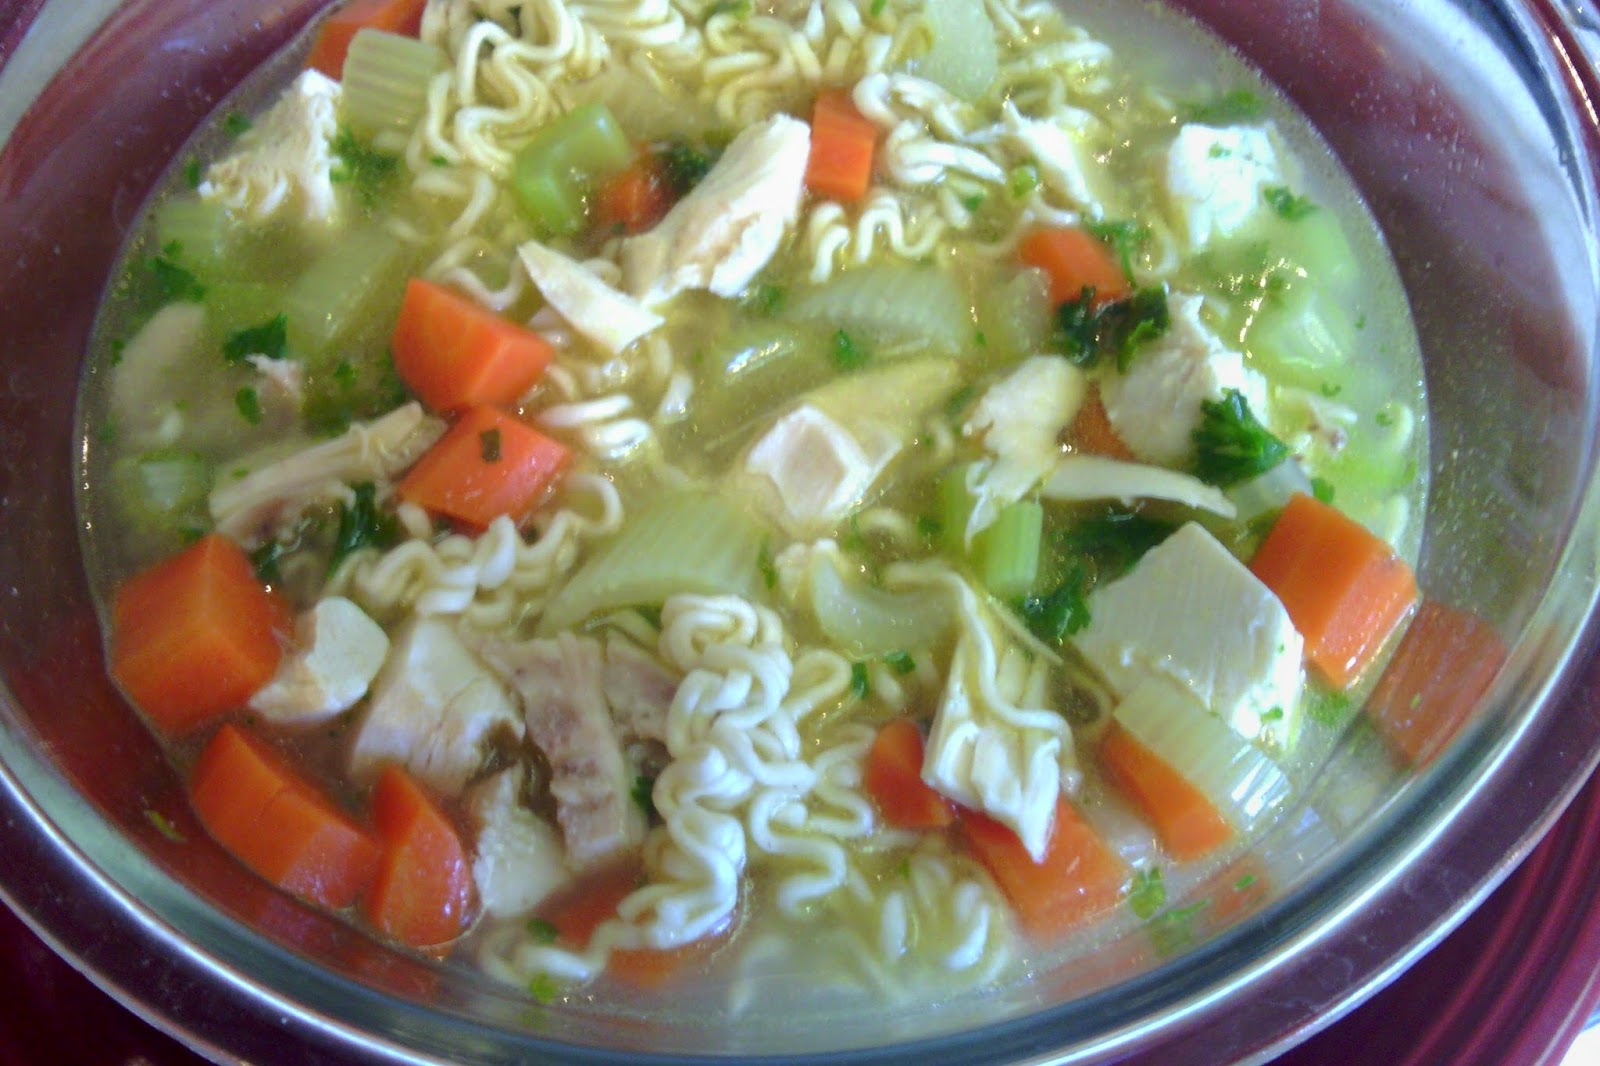
Quick Chicken Ramen Soup
Quick Chicken Ramen Soup
Makes 1 large bowl
(This recipe is not low carb or SCD legal)
In a large individual soup bowl, place the noodles from one package ramen. Discard the seasoning packet. Add about 1/2 cup of the cooked chicken, diced, from above, to the bowl. Using a ladle, add the veggies and enough of the stock to cover the noodles completely. Cover the bowl with a lid or plate to create a tight seal for about 3 minutes. Stir, season with sea salt to taste and enjoy!
Simple Chicken Noodle Soup
Simple Chicken Noodle Soup
Makes about 4 servings
(This recipe is not low carb or SCD legal)
Start with about 8 cups of broth. Bring the broth and veggies to boiling, and add 1 packet (about 8 ounces) Mexican style vermicelli noodles (they are already cut into about 3/4" lengths -- perfect for soup!) or regular vermicelli, broken up. Cook the noodles and broth for about 7 minutes or until they are done. Add about 2 cups cooked diced chicken as desired, and season with sea salt to taste. (Optional: Thicken with 2 tablespoons cornstarch stirred into 1/2 cup cold water. Stir in near the end of the cooking time.) Enjoy!
Other options:
Chicken Veggie Soup -- For SCD and low carb, use squash, cauliflower and other SCD legal veggies. Others, use other veggies like squash, sweet potatoes, mushrooms, okra, rutabaga, turnip, etc., with the carrots and celery. A great variation is using a "spiralized" zucchini for a delicious low carb / SCD ramen!
Non-SCD legal:
Use 2 cups cooked rice instead of the noodles for Chicken and Rice Soup.
Make dumplings for Chicken and Dumplings -- I'm going to be playing with a sour dough recipe for that very soon!
Also, instead of the vermicelli noodles, 1/2 package of wide egg noodles could be used for Old School Chicken Noodles.